November 21, 2011

Baby Gifts

So there's no where to shop around these secluded parts of Northern New York. And I don't just mean I'm bored with what we have here in Ogdensburg. We seriously have NO WHERE to shop. So to accomplish any type of holiday shopping, we have to make a two-and-a-half hour drive south to Syracuse. In the past I've done most of the shopping online, but common--it's not as much fun! So this year the hubby and I planned a weekend trip to Syracuse ALONE. As in, WITHOUT CHILDREN. Yes. Amazing, I know.

Then I got an invitation for one of my good friend's baby shower. Guess when it was. Yes, during our amazing weekend. I was bummed I wouldn't be able to go, but I did manage to get her gift made, packaged, and dropped to her before we left.

An infant carseat canopy.

This is their fourth child and they've always chosen not to find out the sex of their babies before they were born. Exciting for them. Not so easy for gift buying/making. I've been seeing a lot of baby stuff in bright colors combined with grey, so I thought a cute grey print with bright yellow accents would be pretty gender neutral.

Here it is all laid out flat.


I actually got the idea from Cally over at Calico.

The outside is grey and white quilting cotton and the inside is yellow fleece. Instead of velcro straps, I just used some yellow bias tape I already had on hand to make ties. It looked a little unfinished at that point, so I trimmed the edges with some yellow ric-rac. And voila!


The thing I think I like most about this canopy, though, is that it attaches in a way so that the handle is still accessible. This should keep baby nice and cozy warm all winter long by keeping the chilly wind out.


I also made her this super easy and useful diaper pouch using Anna's tutorial at her blog NoodleHead.


It's the perfect size to hold a plastic wipes case, two diapers, and a tube of diaper cream.

I'm thinking I need to make myself one now that the K-ster is out of diapers and Flyin' A is old enough that I don't really need to carry a big bulky diaper bag anymore. This is so easy to just throw in the car or my purse and go. EZPZ.


Visit thecsiproject.com
Pin It

November 18, 2011

31st Annual Essex Fall Craft & Fine Arts Show

Every year for the past four years I have joined my grandmother, aka Nonny, and aunt, Keli, in Essex Junction, Vermont for their annual fall craft show. Kaeleigh went with us the first and second years, but wasn't old enough to really appreciate the idea of a craft show. This year, however, she tagged along again and fully enjoyed herself.

Here's a picture of the four generations about half way through the day:


 This show always has hundreds of vendors, so we do a process of "shop first, buy later." When we find a vendor we'd like to buy from, we write them down so that at the end of the day we can go back and get what we want. This way we don't 1) overspend early in the day and 2) have to lug around big, heavy, or awkward items all day.


Kaeleigh caught onto the process pretty quickly, which she made evident when she found the vendor selling Hello Kitty themed jewelry. She spotted Hello Kitty from five booths down and took off running. When I caught up to her she said, "We have to write this one down!" We all had our good laugh and kept on shopping.


She also loved these super cool glass bead earrings by Novation Glass, so she got those as well.


And Momma had to get herself some awesome new stuff, including this really fun wooden pumpkin to add to our fall decor.

 
 The pianist, Sergei Novikov, that was selling these CD's is at the show every year playing his music at the entrance.


I don't know why we never stopped to check out his merchandise in the past, but we did this year and all four of us fell in love with his soothing and relaxing music. I chose to buy his Christmas Piano Album Part 2 because I thought it would be great to play while visiting with guests during the holidays. I think I'll be getting one or two of his other albums next year.


 I've been searching for little tin stars like these up in Northern NY to a version of this project for next year's patriotic holidays, but have had no luck in finding them small enough.


But, voila, there was a vendor (actually the same one that I bought the wooden pumpkin from) selling these babies in every size you could ever need. I only bought three, now I'm wishing I had bought more. Darn. It. All.


 Food. I can never leave this show without food of some kind.


This sweet red pepper jelly by Catamount Specialties of Vermont is OUT OF THIS WORLD. I bought two jars and I plan to eat every drop of it myself share it with guests.


This next contraption is a special one.


If I hadn't actually seen what this baby is used for, I couldn't have even made a guess. Last year I bought some super cool vertical potted plant hangers, called hanging "Potgenies." I don't have a picture of those, but this year I bought this vertical potted plant stand, the Original "Potgenie." Once it's actually set up, this is what it looks like.

Source: This isn't the same vendor that I purchased my"Potgenie" from, but it's the same idea.


I can't wait to use it in the spring. I'll be sure to share pictures.


So we had a good time. And I think everyone, including the newest craft-show-goer, loves the items they purchased.


Pin It

November 17, 2011

Oliver's Birthday

Meet my nephew, Oliver.


Cute, I know.
His name is rather uncommon currently, but cute none-the-less. Especially since we can call him Ollie, which on occassion gets turned into Ollie-Wallie. You know, like from Wall-E, the movie?

Anyway...this has kind of gotten his mother (my sister, who you can see here) into all things robots for this little guy. His first birthday party was robot themed, so she asked me to make him a robot t-shirt.

My inspiration came from Emily over at The Boy Trifecta who made an adorable little robot applique onsie for her son for Valentine's Day, which you can see here.

And here is how my version turned out:


And a close-up of the applique:


I can't say how he felt about the t-shirt, because he honestly probably could have cared less about what he was wearing. Especially when you can just stuff your face with M&M's until the colored candy goes running down your face.


This kid also loves to snuggle, especially when he's got a nice silky, soft blanket in hand. His blanket of choice is a small, pink-"ish" blanket that used to be my niece's. I say pink-"ish" because it's been very well used. This, combined with the fact that it was pink(-"ish"), often made people do a double-take when they saw Oliver with it, so my sister was looking for a "stand-in."

This is what I came up with:


One side is super soft and cuddly. And the other is cool and silky. Plus, they're blue and brown with a nifty little "O" monogrammed onto them.


He liked them, but I'm afraid to report he still prefers the wornout, pink version better. I guess I can't win them all.


My sister also asked me to decorate the cupcakes. If you know me, you know that I also love to decorate cupcakes. (Notice I said decorate, not make. Two very different concepts.) I have the book What's New, Cupcake? by Karen Tack and Alan Richardson (see there website here) which has the instructions on how to make a cupcake robot. So...


I think he turned out pretty cool, if I do say so myself.

My sister didn't want to have to disassemble the robot during the party, so I also decorated an extra batch of cupcakes using some super cool metalic sprinkles we found at the local grocery store.

And the birthday boy thoroughly enjoyed them. :o)


Happy 1st Birthday, Ollie!


This project was submitted to: 


Visit thecsiproject.com
Pin It

November 16, 2011

A Baby Shower...

So in less than two weeks I am co-hosting my best friend's baby shower. This is Mallory and Josh's first baby and I'm super excited for them. I've got plenty of projects going on for this occasion, but I wanted to give a "sneak peak" with a couple of shots of the invitations (minus the private and personal information, of course).


The theme is "Cute As A Button" and I think these invitations compliment the theme nicely while still looking classy instead of cheesy, cause I hate cheesy. What do you think?


Pin It

November 8, 2011

Cupcakes, Banners, and a Great Substitute for Shower Games...

Last month my brother-in-law got married to a wonderful and sweet girl. We are all very excited to have her officially join the family. But before we could have a wedding we had to have a bridal shower, of course. And no bridal shower is complete without...CAKE. And not just cake, but cupcakes. These super awesome cupcakes that were made my none other than yours truly.


I'll give you a second to wipe the drool off your keyboard.

I made each one of those chocolate "M's." Unfortunately I didn't take pictures of the steps to show you how to do it, but I will list the steps for you.

1. Melt chocolate chips in a microwave safe bowl in 10-20 intervals, stirring between each time.
2. Spoon the melted chocolate into a plastic condiment bottle. This is messy--watch out!
3. Place a printed sheet of your letter (or any other design) on a cookie sheet and then lay a sheet of parchment or waxed paper over top of that. I simply printed as many M's that would fit onto a sheet of paper using my printer.
4. "Draw" out your letters or designs with the melted chocolate using your template as a guide.
5. Place the cookie sheet in the refrigerator until the chocolate has set.
6. Use to decorate your cupcakes!
*Note: I would recommend keeping them in the refrigerator until you're ready to use them. We had an unusual warm spell this October which caused some of mine to soften and become deformed when I left them out.*


And a close up of the deliciousness for your to drool over once again.


I made those black and white paper wrappers too. They were super simple, actually. I found this template through Pinterest (love that site) and modified it to fit my cupcakes. I traced it onto the back of scrapbooking paper, cut them out, used double sided tape to stick the ends together, and then placed the cupcakes inside. Super cute, super cheap, and super easy...a trifecta.

These stands were pretty quick and easy too.

Annie's Eats had a great tutorial on how to make these stands. They were so easy and I had all of the supplies already at home, so it cost me virtually nothing!

Here's my Kaeleigh enjoying her yummy cupcake...


I am not, I repeat, NOT, the kind of person who likes to play shower games. Luckily, neither are my in-laws, so no one got stuck playing "Bridal Bingo" or the like (sorry to those of you who like to). But we knew we had to have some kind of time filler to make things a little interesting.


So I came up with this idea. The plaque in the frame reads:

Please share one of your favorite recipes (or two) with Jennifer by filling out one of the recipe cards. All recipes will be given to her in the recipe album. Thank you for coming!

These are the cards I made up. I just used Microsoft Word to create the blank recipe card and then printed them onto cardstock cut to the appropriate size.

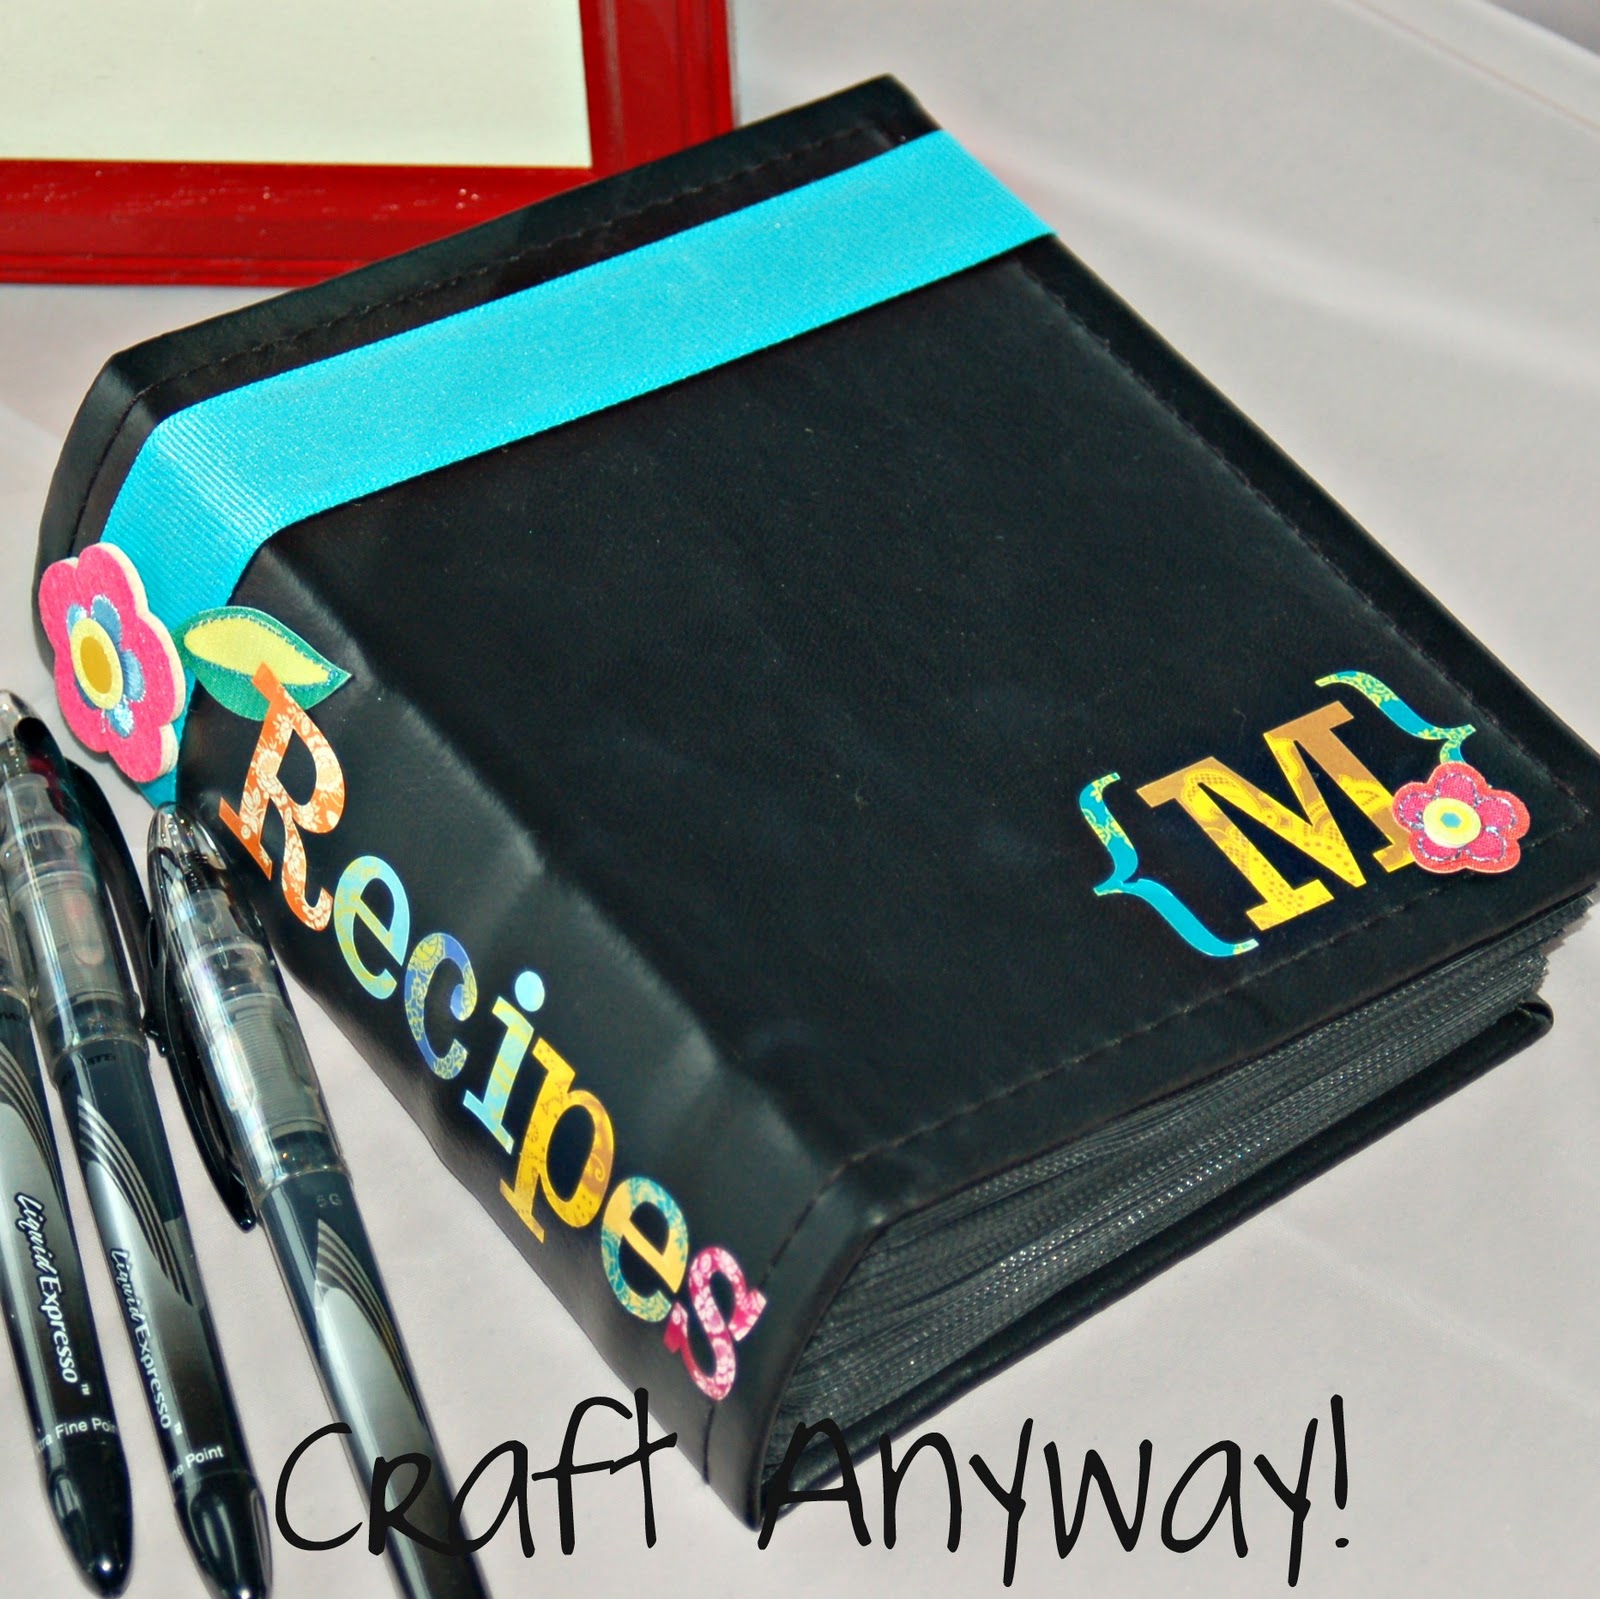
I also "made" the album. Well, I didn't make it, per se, but I did decorate it. It's just a simple photo album that I dolled up a bit with some ribbon and scrap-booking supplies.

In the first insert, I put a card with Julia Child's quote, "Cooking is like love; it should be entered into with abandon or not at all." I thought it was appropriate for the gift and circumstances combined. :o)

So I couldn't just stop at that, because then I would have to be considered a sane person. I'm not sane. I'm far from it. So my next project to contribute to this occasion was an "I Do" banner.

And I close up...


Each of those little hearts is made from scrap-booking paper and then strung onto twine. I used my Cricut to cut the circles and the "I Do's" and then attached them to the twine with tiny clothes pins which I thought gave it a cute little touch.


And I think the then bride-to-be, Jen, was very happy and had a great time. Here she is with her "new" niece!

Pin It

LinkWithin

Related Posts Plugin for WordPress, Blogger...